According to the CDC, there’s still research needed to determine if 3D printing fumes are actually hazardous. However, 3D printers have been proven to release ultrafine particles, and ABS printing adds VOCs to the mix. I’d rather err on the side of safety, so I decided a requirement for my enclosure would be to vent printing fumes outdoors. Regardless of health effects, it’s nice to get the “hot plastic” smells out of my apartment.
Enclosure vent system
My enclosure actually has two venting systems. The top level of the enclosure, with the printer inside, is vented outdoors. The bottom level, which houses the printer control box, has a simple fan that is purely to avoid overheating the control box when the enclosure is closed for long periods. The electronics and control box on the lower level shouldn’t produce any harmful fumes, so it is OK to vent them indoors.
Enclosure vent fan
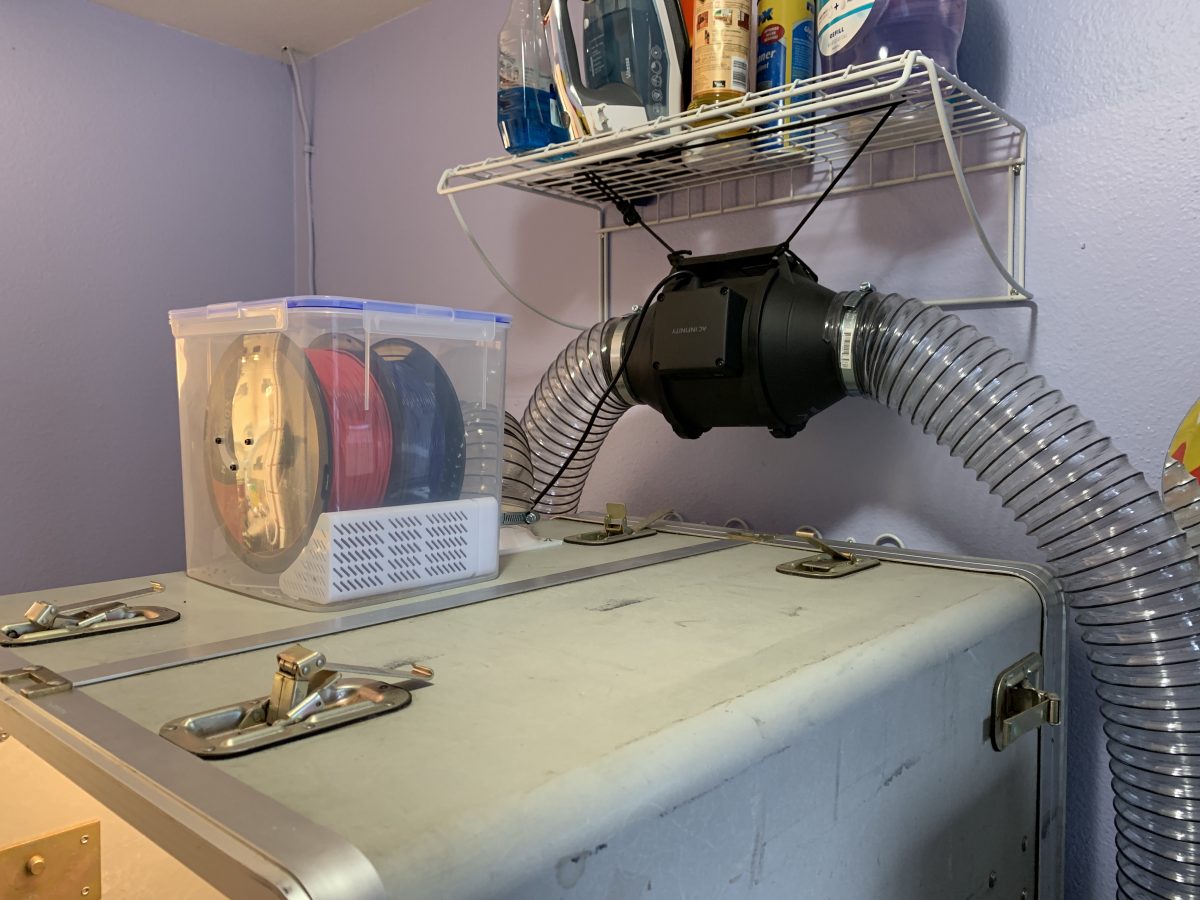
The enclosure vent fan I purchased as a fairly plug-and-play system that included the fan, control interface, and temperature probe (Fan system: AC Infinity T4). The control box uses the temperature probe like a thermostat, and allows you to set a desired temperature range. Of course, the fan can only cool the enclosure by pulling in ambient air. The temperature control function may be useful for printing ABS, but while printing PLA I tend to run the fan constantly at a medium/high speed. PLA likes cooler enclosure temperatures and doesn’t seem to mind a breeze.
The fan mounting bracket is designed to be screwed down to a solid surface, but I opted to suspend the fan to make the system quieter. The fan itself is very quiet, but the vibrations tend to resonate if the fan is physically touching the wall. Plus, hanging from the existing shelf is very security-deposit-friendly.
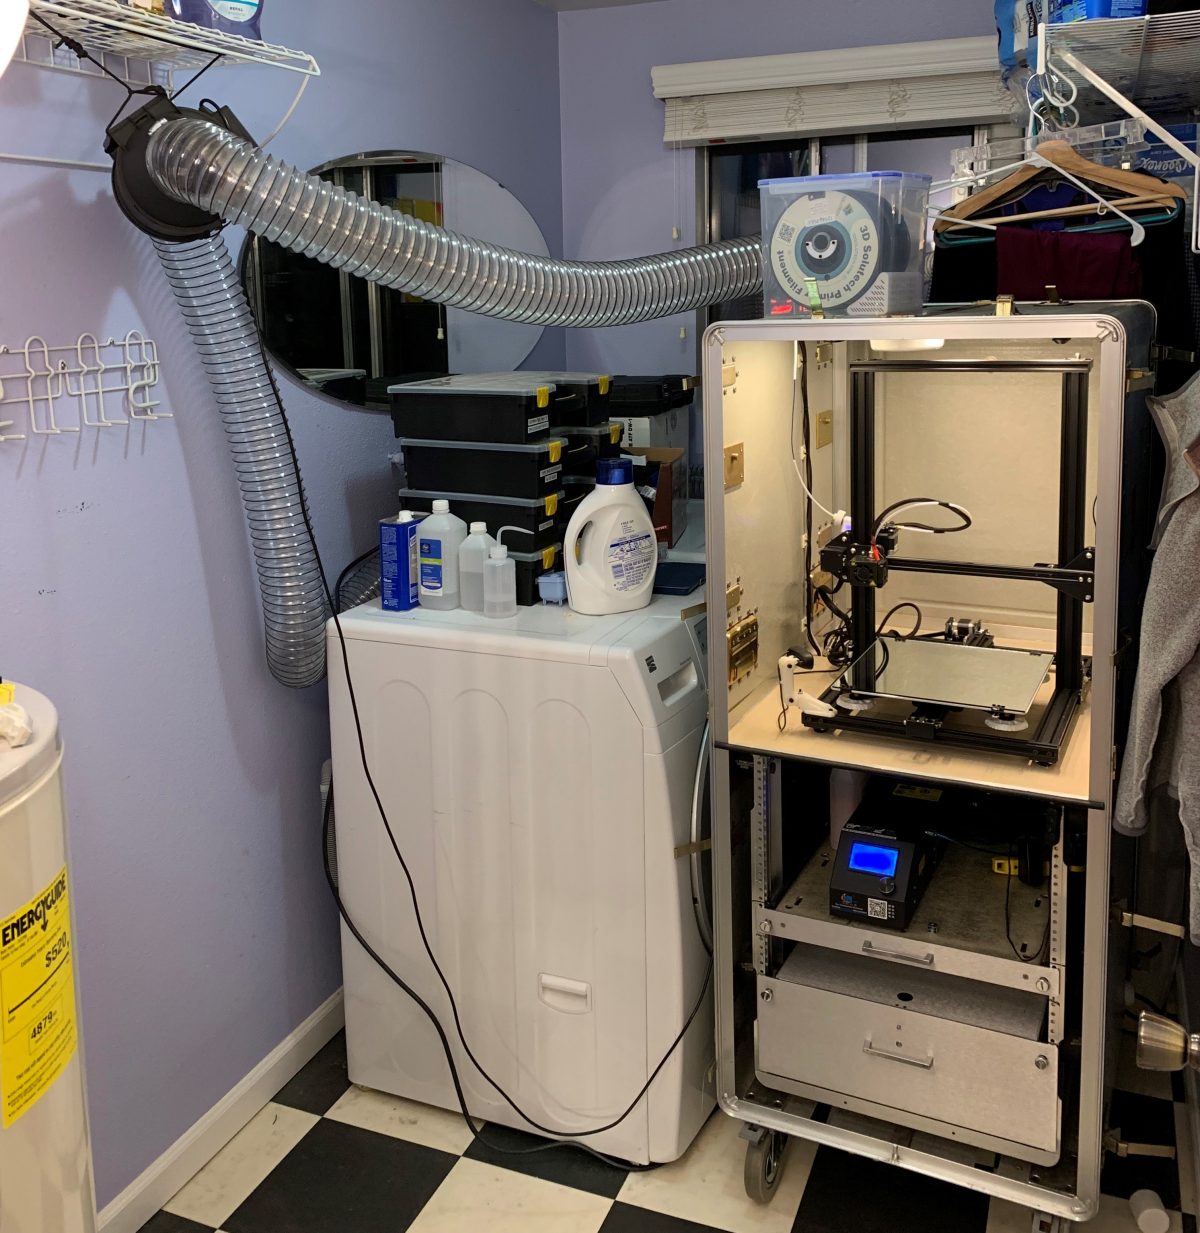
Printer enclosure moved to allow attic access - ducting at max extension
Most DIY vent fans are used with aluminum foil type ducting, but I knew my ducting would be yanked around when I moved the printer. I chosee 4″ PVC Dust collection hose because it is designed to survive movement and abrasion. When I pull the enclosure away from the wall to access my apartment’s attic area, the duct is fully extended and often gets knocked around in the moving process. The dust collector hose is more expensive than dryer vent ducting, but I think the durability is worth the added cost. The wire-reinforced PVC construction also adds piece of mind in that it is less likely to tear and create unnoticed leaks.
Duct and fan connectors
Detail of Molex 4-Pin "bulkhead"
The bulkhead connecting the duct to the enclosure is a printed part designed by John Brenner on Thingiverse (Four-inch-flange), and even printed in PLA it provides a sturdy connection to the enclosure. Next to the duct connection is a female molex connector that connects the fan control box to the vent fan. I bought a male-female 4-pin Molex extension cable (Amazon) and paired it with Richard Adair’s Standard Molex 4-pin Connector Mount on Thingiverse to create my own bulkhead extension cable. The bulkhead setup allows the printer to be completely disconnected from the wall by unplugging two cables (120v power and this fan cable) and undoing the duct connection. A lesson I learned here is that the Molex 4-pin connectors require an unreasonable amount of force to engage/disengage. If I did this again I would strongly consider connectorizing the cables myself with an alternative connector (possibly 4-pin aviation connectors), even though that would mean voiding any warranty on the fan system.
Window vent
Exterior view of window vent
The challenge of venting the printer exhaust outdoors was compounded by the fact that I can’t make permanent modifications to my apartment. That ruled out adding a second dryer vent, which is a common solution. Additionally, if I was going to use the window to exhaust, I needed a solution that would look OK from the outside – something nicer than a piece of plwood with a hole in it. PLA doesn’t weather well, and any printed solution would be tedious due to the size of the window, so I looked at existing products that could be adapted. Eventually, I found my solution while wandering a Home Depot.
My window vent is a 3″ landscaping drain (Home Depot), normally intended for use in-ground. You may have seen similar drains in driveways. I chose it for it’s narrow profile, built-in grate, and pre-made knockouts for 3″ pipe. The color even blends in with the exterior paint! I modified it fairly heavily to fit my purposes.
Rear of window vent, with knock-out exposed
The shaved-down side of the vent
To make the drain work as a window vent, I had to cut it down to match the window length. These drains come as a “kit” with loose endcaps because they are designed to be cut to length, if needed. I also had to shave down one side of the vent to allow it fit flush with the window frame. To make the drain seal with the window, I added 1/4″ aluminum trim channel to the side and bottom. The trim channel on the side fits tightly in the frame of the window, and was the same channel that I used as trim for the cement board printer shelf.
Aluminum trim channel added to the edges
Windows and venting setups will vary widely based on individual needs, but if I had to do a window vent again, I would use the same drain system. It’s easily adaptable and can be modified with hand tools and a cordless drill. The knockouts are designed for sewer-style pipe, but it was easy to use sewer fittings with a couple of duct tape wraps (hey, it’s a duct isn’t it?) to adapt the drain to the 4″ dust collection hose.
Lower enclosure fan
The lower enclosure cooling fan is a 120mm USB-powered fan (AC Infinity Multifan) that runs whenever the enclosure is powered on. Both upper and lower fans are configured so they will be shut off if either smoke alarm goes off, to avoid a “blast furnace” effect. As the system sits, the flows into the enclosure through two pre-existing holes in the bottom of the cabinet. That incoming air is either blown out of the enclosure by the lower cooling fan, or drawn upwards into the upper level through the cable entry in the cement board shelf. A future upgrade could be to seal the existing air intakes and add dedicated air intakes for each level that could be adjusted or closed. If I end up printing materials that require higher enclosure temperatures, I won’t be able to run the exhaust fan continuously to create negative pressure. Without negative pressure, better sealing will be required to keep the fumes contained.