LCD Monitor
Re-purposing a laptop display as a monitor
Summary
I needed a 15 inch computer monitor but I could not find an affordable off-the-shelf option. I purchased an aftermarket display driver to power a recycled laptop display, and designed a case to hold it all together.
Design Goals
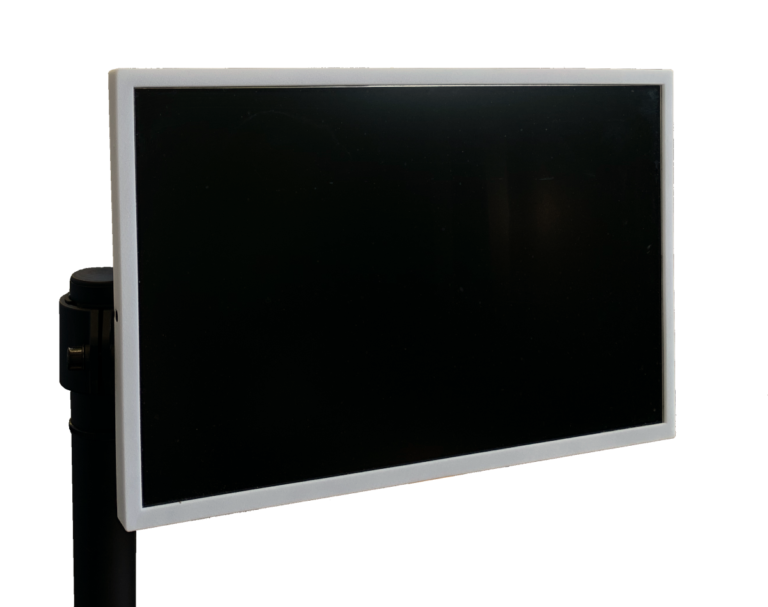
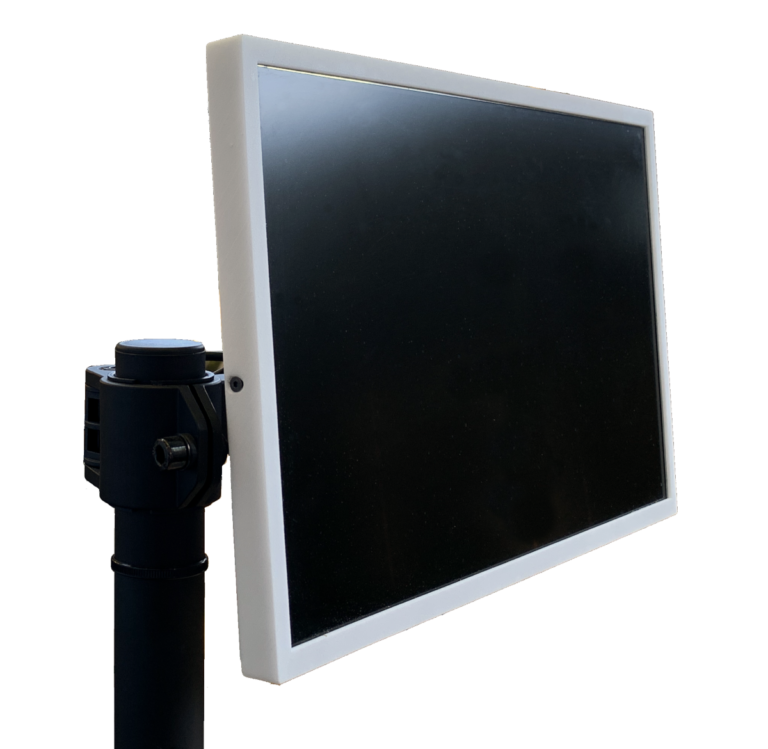
- Minimum bezel size – add minimum bulk to monitor around the bezel.
- HDMI input – this monitor will only use HDMI.
- Integrated button panel to allow easy access without increasing bezel size.
- Enclose electronics while maintaining airflow.
- Hide cables – minimize visual impact of HDMI and power cables.
- Allow future enclosure access – avoid permanent closures.
- Optimize for 3D printing – minimize overhangs.
Why make a monitor?
Why build a monitor? To save money. Or more accurately, spend large amounts of time instead of a medium amount of money. It’s also a way for me to practice my skills with consumer electronics.
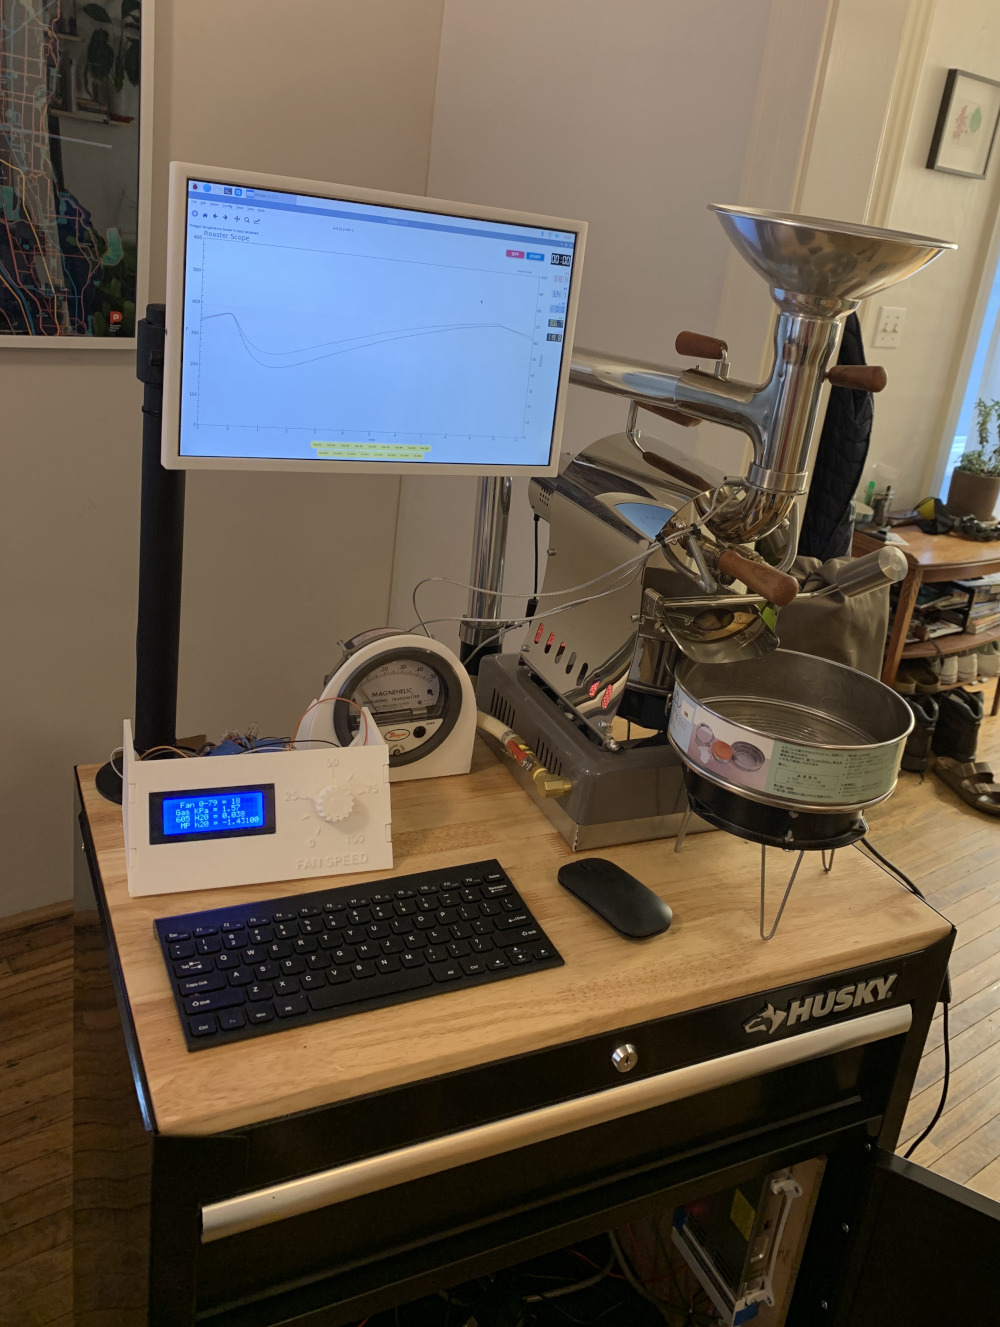
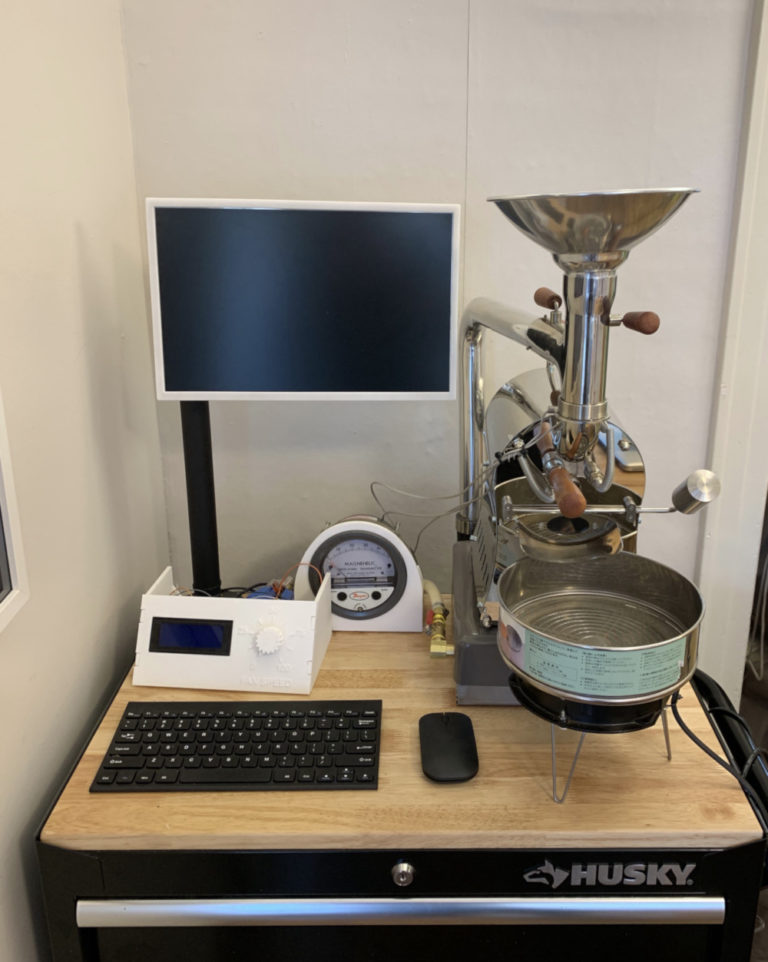
I roast coffee as a hobby, and I record data about my coffee roasts with a computer. I needed a monitor for my coffee roaster computer (a Raspberry Pi), but I was constrained by the space available on my coffee roaster cabinet. I have space for a monitor up to 17 inches. Commercially available monitors under 20″ with HDMI connections are expensive and usually won’t accept a VESA mount. I had a broken laptop, and decided to salvage the 15″ display and see if I could build my own monitor.
Process
To make the laptop display function as a standalone display without the rest of the laptop’s hardware, I purchased a driver kit. The driver kits are readily available on eBay, and usually consist of a power supply, a driver board, and a button panel. The display driver board handles the HDMI input and connects to the laptop display’s ribbon connector. The button panel is for basic menu functions that allow you to adjust the display’s brightness, contrast, etc. The power supply has high voltage components to power the display’s backlight.
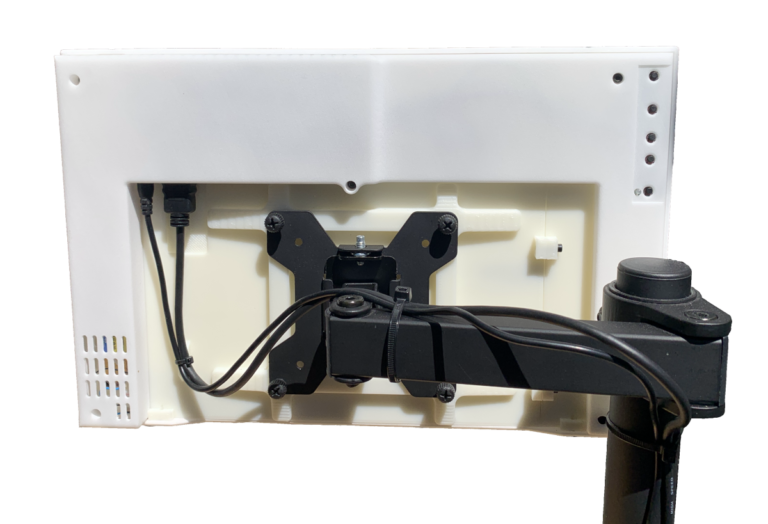
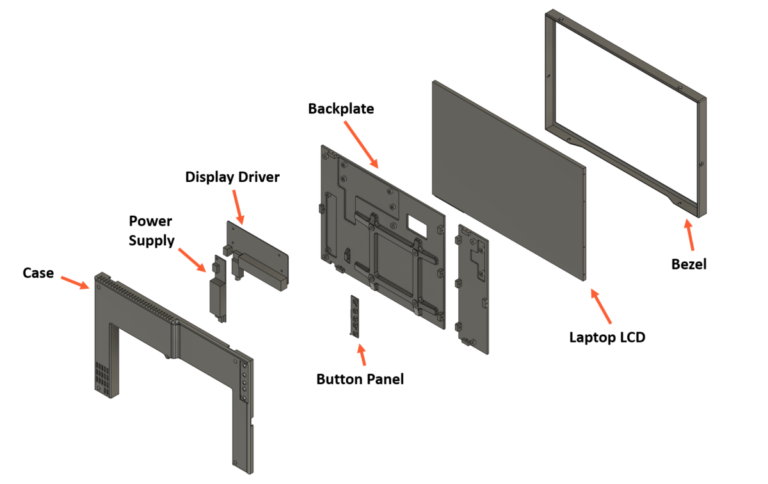
To start the monitor design, I laid out all these components on the back of the LCD display and arranged them around a 100mm VESA pattern.
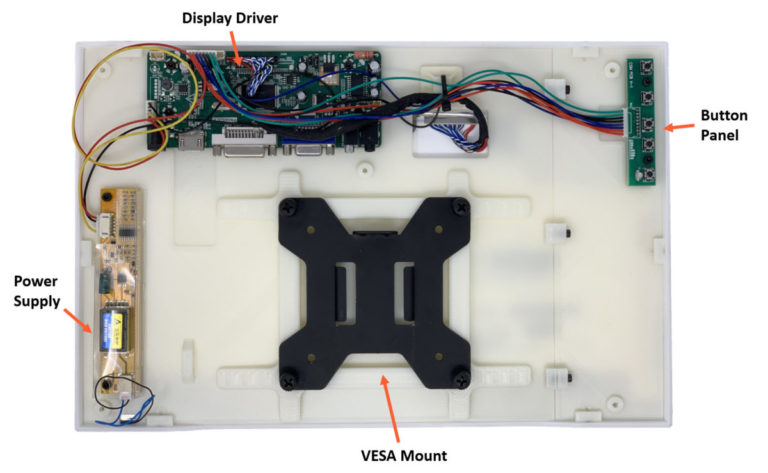
One victim of the backplate layout: I sacrificed the display driver’s VGA and DVI inputs because they’re obstructed by the VESA mount. I could have preserved those inputs by placing the driver board on the bottom of the monitor, but I wanted to tuck the HDMI and power connectors behind the display to keep them hidden. By placing the HDMI and power inputs higher, I am able to hide the connections and run the cables along the monitor stand, keeping them concealed.
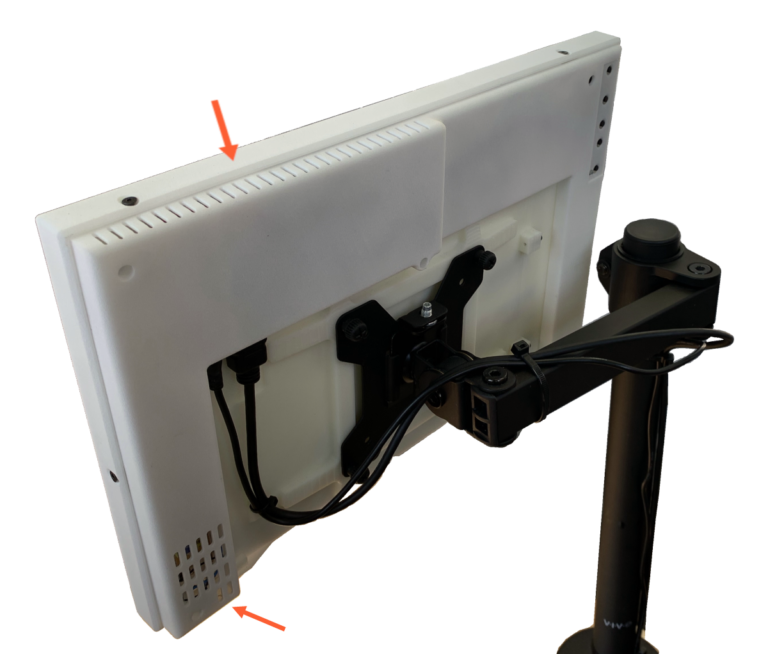
Electronics need to be kept cool, so I kept the thermal requirements of the display and drivers in mind as I designed the case. I used a basic vent system for passive convection cooling, with air vents at the bottom to allow cool air to enter and rise out of the upper vents. I sacrificed some dust-proofing with the simple vent pattern I used, and I made that decision to make the structure easier to 3D print. In my indoor application, I don’t anticipate dust entry to be an issue.
Result
The monitor works very well, and fits nicely in its space. The components and materials cost about $50, so I saved money compared to commercial monitors ($100+). I enjoyed focusing a little more on form rather than function with this project, and I gained some electronic device design experience.
What I would do differently: I would be more selective with my display choice, and find a donor laptop with a nicer screen. The display is a funky resolution (1680 x 1050) and I discovered that newer LED backlit displays don’t require the power inverter board that my CCFL backlight does. With the relative abundance of 15″ laptop displays that are available from aging laptops, next time I would be choosier with my selection.
Overall, I think laptop display conversions are a great way to keep some e-waste out of a landfill. If you can fit a larger monitor, I do think it makes more sense to purchase one rather than build your own, but if you are space constrained a display conversion is just the thing.